HTML Forms & Input Elements – Complete Guide for Beginners
Slug: /html-forms-and-input-elements-guide
Tags: HTML, Forms, Input, Web Development, Beginner Guide, Frontend
Introduction
Forms are the foundation of user interaction on the web. They allow users to enter data, submit feedback, log in, register accounts, and perform countless other tasks. Without forms, dynamic websites like e-commerce stores, social media platforms, and online applications wouldn’t function. In this detailed guide, we will explore HTML forms and input elements with examples, best practices, and tips to make them accessible and SEO-friendly.
1. What is an HTML Form?
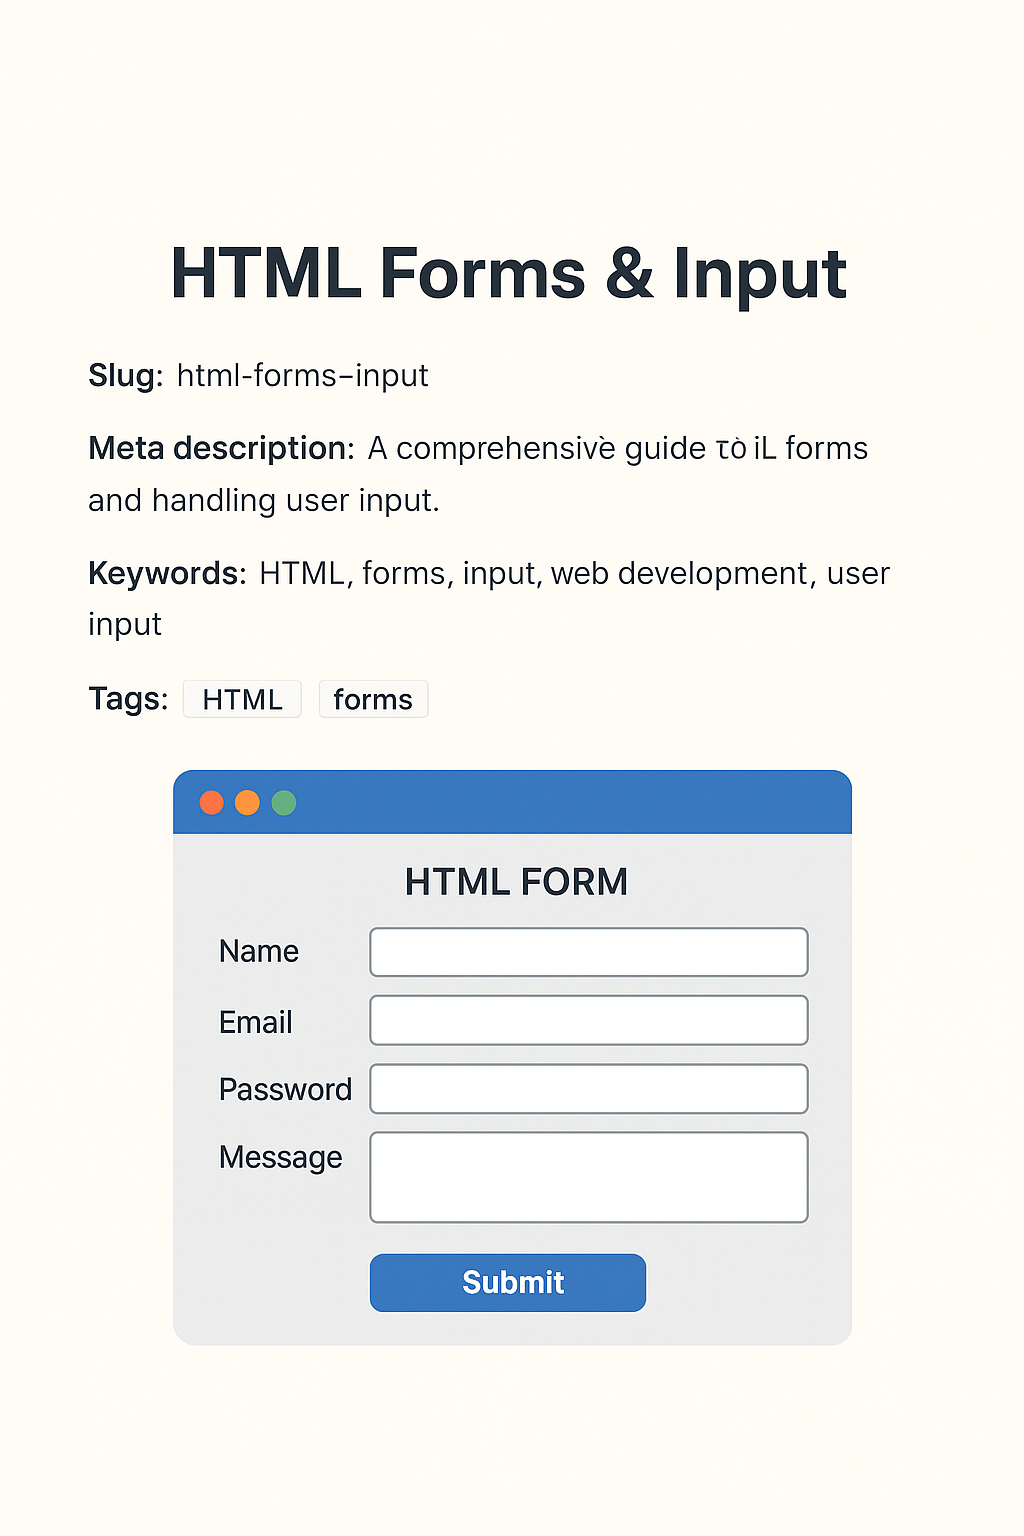
An HTML form is used to collect user input and send it to a server for processing. It is created using the <form> tag and can contain multiple input fields, dropdowns, checkboxes, and buttons.
Basic example:
<form action="/submit" method="post">
<label for="username">Username:</label>
<input type="text" id="username" name="username">
<button type="submit">Submit</button>
</form>
2. HTML Form Attributes
The <form> tag supports several attributes that define how data is sent:
- action → The URL where form data will be submitted
- method → Defines the HTTP method (
GETorPOST) - target → Specifies where to display the response (
_blank,_self) - enctype → Defines how form data is encoded (important for file uploads)
3. HTML Input Elements
The <input> tag is the most common form element. Its type attribute changes its functionality.
Common Input Types
text– Single-line text inputpassword– Hidden input for passwordsemail– Validates email addressesnumber– Numeric input with increment/decrement arrowsdate– Date pickercheckbox– Multiple selection optionradio– Single choice from a groupfile– File upload optionsubmit– Button to submit the form
Example with multiple input types:
<form>
<input type="text" placeholder="Enter Name">
<input type="email" placeholder="Enter Email">
<input type="password" placeholder="Enter Password">
<input type="submit" value="Register">
</form>
4. Labels in Forms
Labels make forms accessible by associating text with input fields. They improve usability for screen readers and help users understand what each field represents.
<label for="email">Email:</label>
<input type="email" id="email" name="email">
5. Textarea & Select Dropdown
In addition to input fields, forms also include <textarea> for multi-line text and <select> for dropdown menus.
<textarea name="message" rows="4" cols="30">Your message here...</textarea>

<select name="country">
<option value="india">India</option>
<option value="usa">USA</option>
<option value="uk">UK</option>
</select>
6. Form Validation
Form validation ensures that users enter correct and complete data. HTML provides built-in validation attributes.
- required → Makes a field mandatory
- min / max → Sets numeric limits
- pattern → Regular expression validation
- maxlength → Restricts character count
<input type="text" name="username" required maxlength="15">
<input type="email" name="email" required>
7. Advanced Input Types
HTML5 introduced several new input types to enhance user experience:
url– Ensures valid URL inputcolor– Color pickerrange– Slider for numeric rangestel– Telephone number inputsearch– Search box optimized for queries
8. Best Practices for HTML Forms
- Always use
<label>for accessibility - Group related inputs with
<fieldset>and<legend> - Provide placeholders and default values
- Use proper input types for mobile-friendly experiences
- Combine client-side validation (HTML/JavaScript) with server-side validation for security
- Keep forms simple and user-friendly
9. Example: Registration Form
A real-world registration form example:
<form action="/register" method="post">
<label for="name">Name:</label>
<input type="text" id="name" name="name" required>

<label for="email">Email:</label>
<input type="email" id="email" name="email" required>

<label for="password">Password:</label>
<input type="password" id="password" name="password" required>

<label>Gender:</label>
<input type="radio" name="gender" value="male"> Male
<input type="radio" name="gender" value="female"> Female

<label for="country">Country:</label>
<select id="country" name="country">
<option value="india">India</option>
<option value="usa">USA</option>
</select>

<label for="bio">Short Bio:</label>
<textarea id="bio" name="bio" rows="3"></textarea>

<input type="submit" value="Register">
</form>
Conclusion
HTML forms and input elements are essential for creating interactive and dynamic websites. From login systems and registration pages to feedback forms and surveys, they form the backbone of user interaction. By mastering attributes, input types, validation, and best practices, you can build secure, accessible, and user-friendly forms. Always remember to enhance forms with CSS for design and JavaScript for advanced validation and interactivity.
Pro Tip: Keep forms short and clear. The fewer fields a user has to fill out, the more likely they are to complete it.


Discussion (0)
Leave a comment